A guide to drylining metals
Drylining involves adding a layer of plasterboard to the surface of the metal, creating a smoother and more attractive finish. However, drylining metal surfaces can be a tricky process, and it’s important to follow certain guidelines to ensure that the final result is both effective and durable.
What is metal drylining?
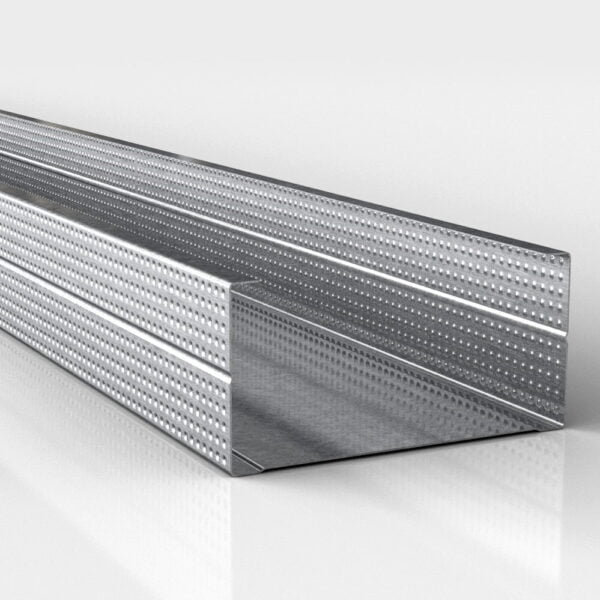
Metal drylining, also known as metal framing or metal stud partitioning, is a technique used to create interior walls and ceilings using metal frames instead of timber. It is a popular method of construction in modern buildings as it is quick, easy and provides a range of benefits.
The process of metal drylining involves creating a metal frame using steel or aluminium studs. The studs are typically spaced at intervals and attached to the floor, ceiling and walls using screws or bolts. The studs are designed to be lightweight, yet strong enough to support the plasterboard sheets that are attached to them.
The benefits of metal drylining
Metal drylining provides a number of benefits over traditional timber frame construction. For example, metal frames are lightweight and easy to handle, making them easier and quicker to install. They are also more durable than timber frames and are resistant to fire and moisture, making them ideal for use in commercial and industrial buildings.
Metal drylining is also an effective way to improve insulation in a property. By using insulation material between the metal frame and the plasterboard sheets, it is possible to reduce heat loss and improve energy efficiency. This can lead to significant cost savings on energy bills over time.

Drylining metal surfaces
The first step in drylining metal surfaces is to ensure that the surface is clean and free of debris. Any loose paint, rust, or other debris should be removed using a wire brush or sandpaper. Once the surface is clean, it’s important to apply a coat of primer to ensure that the plasterboard adheres properly. The primer should be allowed to dry completely before moving on to the next step.
Once the surface is prepped and primed, it’s time to measure and cut the plasterboard. The board should be cut to fit the size and shape of the metal surface, with extra care taken to ensure that the edges are straight and smooth. A sharp utility knife can be used to make clean cuts in the plasterboard.
Before applying the plasterboard to the metal surface, it’s important to apply adhesive to the back of the board. The adhesive should be spread evenly across the surface, with extra attention paid to the edges and corners. Once the adhesive is applied, the plasterboard can be carefully placed on the metal surface and pressed firmly into place.
Once the plasterboard is in place, it’s important to add a layer of jointing tape to the seams. The tape should be cut to the appropriate size and placed over the seams, with a thin layer of jointing compound applied over the top. The compound should be spread evenly and allowed to dry completely before moving on to the next step.
After the jointing compound is dry, it’s time to add a second layer of compound. This layer should be applied in a thin, even coat, with extra care taken to ensure that the surface is smooth and even. The compound should be allowed to dry completely before sanding the surface with fine-grit sandpaper. This will create a smooth, even surface that is ready for painting or wallpapering.
Things to consider when drylining metals
One of the main advantages of metal drylining is its fire resistance. Metal frames are non-combustible and can withstand high temperatures, making them ideal for use in buildings that require a high level of fire protection. When combined with fire-resistant plasterboard and insulation material, metal drylining can provide a barrier against the spread of flames and smoke.
It can also improve insulation and aesthetics, drylining metal surfaces can also help to reduce noise levels. This is especially true if you choose to use acoustic plasterboard, which is designed to absorb sound and reduce noise transmission.


