Celotex cavity wall boards are insulation boards designed to improve the thermal performance of a residential or commercial building within cavity wall applications. Cavity wall boards are made up of a rigid polyisocyanurate (PIR) core and low emissivity foil facings bonded to each side. This product can be applied to extensions and new builds. Celotex have two different types of cavity boards. One is the Celotex CW4000 Cavity Wall Board and the newest addition to the Celotex family is the Celotex Thermaclass 21
Showing all 7 results
Celotex CW4100 100mm Cavity Wall Board (1200mm x 450mm) – 3.24m2 pack
Original price was: £51.23.£45.00Current price is: £45.00.Celotex CW4075 75mm Cavity Wall Insulation Board (1200mm x 450mm) – 4.32m2 pack
Original price was: £64.23.£44.00Current price is: £44.00.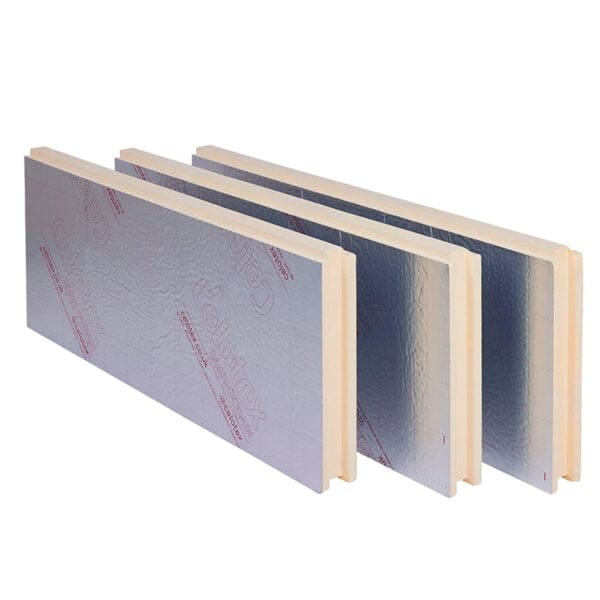
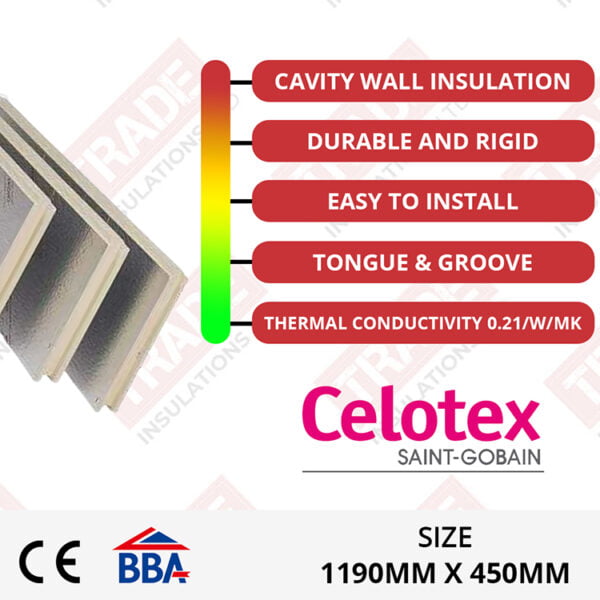
90mm Thermaclass Cavity Wall 21 – Celotex Thermaclass (1190mm x 450mm x 90mm) – 3.21m2 (Pack of 6)
Original price was: £85.00.£78.10Current price is: £78.10.Celotex CW4050 50mm Cavity Wall Board (1200mm x 450mm) – 5.94m2 pack
Original price was: £55.00.£45.50Current price is: £45.50.115mm Thermaclass Cavity Wall 21 – Celotex Thermaclass (1190mm x 450mm x 115mm) – 2.76m2 (Pack Of 5)
Original price was: £95.00.£85.95Current price is: £85.95.140mm Thermaclass Cavity Wall 21 – Celotex Thermaclass (1190mm x 450mm x 140mm) – 2.14m2
Original price was: £89.98.£84.90Current price is: £84.90.Celotex CW4085 85mm Cavity Wall Board (1200mm x 450mm) – 60.48m2 Pallet
Original price was: £1,100.00.£992.06Current price is: £992.06.When installed correctly, Celotex Cavity Wall Boards will have a lifespan that lasts for as long as the buildings do. Cavity wall boards use a blend of blowing agents that have zero ozone depletion potential (zero ODP) and low global warming potential (GWP).
Cavity wallboards are lightweight and easy to handle and install. The board can be fit between wall ties using cavity tie clips for retention and comes in conveniently sized boards for installation between cavity wall ties.
Key features of Celotex Cavity Wall Boards:
- Excellent Thermal Performance
- Available thickness from 50mm – 140mm
- Enhanced features deliver thinner solutions that meet target U-values
- High performance facer
- Provides a level of sound proofing
- Compressive strength: 120kPa
- Durable, long lasting, and reliable product
- Easy to simple installation process
- Built with the protection from weather conditions in mind
- CFC/HCFC free
- Vapour resistant
- Tongue and groove edge profile (Thermaclass 21) or squared edges (CW4000)
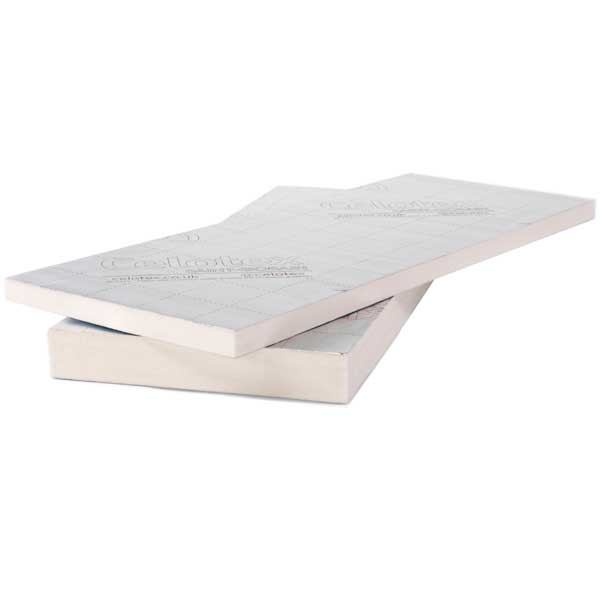
Cavity Wall Boards CW4000
Cavity wall insulation boards are an insulation material with a flat edge so boards can be easily butted together. The boards are made up of a polyisocyanurate (PIR) core and low emissivity foil facings. Cavity wall boards are designed for partial fill masonry cavity wall applications.
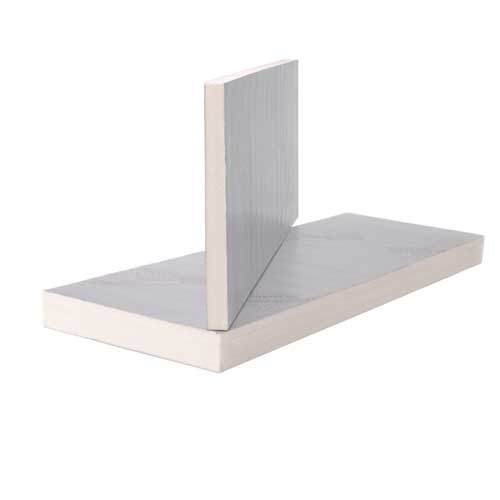
Thermaclass 21
Thermaclass insulation is an insulation boards with tongue and groove edges so boards can be easily interlocked when fitted to give the best thermal quality possible. The boards are made up of a polyisocyanurate (PIR) core and low emissivity foil facings. Thermaclass boards are designed for full fill cavity wall applications.
What is the difference between Celotex Thermaclass 21 and Celotex cavity wallboards?
Cavity wallboards have a straight edge and provide thicknesses from 50mm to 100mm whereas Thermaclass has a tongue and groove edge and provide larger thickness between 90mm and 140mm. The Celotex cavity wall boards are design for partial fill applications and Thermaclass boards are designed for full fill applications.
What are partial fill and full fill applications?
A partial fill cavity features thermal insulation secured to the inner leaf of the building system (blockwork), leaving a cavity of air between the insulation and the masonry outer leaf (brickwork).
Full fill cavity wall insulation differs to partial wall insulation as the entire space of the cavity is filled with insulation without leaving an air gap. The insulation will go from the inner leaf to the outer leaf – connecting with both brick and block work.
How to install Cavity Wall insulation
Please note this is a guide only and a building professional should be consulted before any building works begin on your property.
Install wall ties into the inner leaf at 600mm apart horizontal centres. For suspended timber floors, wall ties start a minimum of 200mm below the top surface of the ground floor perimeter insulation upstand. Place the cavity tie clips (wall ties) 900mm apart.
Continue constructing the inner leaf up to the next wall tie course. (450mm above the previous inner leaf). The next course of wall ties is positioned at regular horizontal centres. Extra wall ties should be positioned at jambs for all openings. The next course of blockwork should then be installed to secure the ties in place.
The first row of insulation boards should now be installed between the two rows of wall ties (fleece must face outwards to cavity), ensure each insulation board is retained tight against the inner leaf and joints are butted to get the best quality of insulation.
Secure each board at a minimum of three points. Additional ties may also be required to satisfy structural requirements such as around window frames or doors or to ensure adequate retention of the Cavity Wall boards or cut pieces.
Apply a self-adhesive breathable tape to all horizontal and vertical joints of the cavity wall board edges and abutting junction interfaces. (No less than 100mm wide and no less than 50mm either side of any edge. Additional layers may be applied if needed.)
These surfaces should be clean, dry, and free from grease, dust, and dirt prior to application. Next, build the outer leaf (outer brickwork) to the level of the top of the cavity wall boards and repeat the process.
If finishing at a gable, Cavity Wall insulation boards should be continued 200mm beyond the height of the top storey ceiling and a cavity tray installed above the insulation.
How to install Thermaclass insulation
Please note this is a guide only and a building professional should be consulted before any building works begin on your property.
Build up the first section of the walls inner leaf (concrete blocks) and install the first row of wall ties at a minimum of one course of blockwork below the DPC – Damp Proof Course.
The Thermaclass Cavity Wall 21 boards should be positioned with the tongue at the top of the board. When planning the installation, the position should be decided for example, whether the tongue should appear on the ‘top and left’ or ‘top and right’ of the boards and maintain this defined orientation throughout the installation.
Before installing the Thermaclass Cavity Wall 21 insulation board:
- Identify where the wall ties will land on the tongue side of the board.
- Using a self-retracting knife, cut the facer then use a sharp specialist insulation saw to make the final small incision in the tongue profile, with a tilt to follow the downward facing direction from the inner leaf to the outer.
- Make the incision, this should not be more than 15mm deep.
- When there is a residual cavity, all ties should include a retaining clip or disc as appropriate to ensure boards are secured in place against the internal wall leaf.
The first row of the Thermaclass Cavity Wall 21 insulation boards should be supported by the first row of wall ties. Fit the boards flush against the internal leaf, maintaining up to a 10mm residual cavity where specified between the insulation board and the external wall leaf. The boards should be installed to an engineer’s requirement or to a minimum depth of 150mm below the damp proof course (DPC) to provide edge insulation to the floor and reduce thermal bridging at this junction. Ensure that the Thermaclass Cavity Wall 21 insulation boards are not in contact with the ground or that all board edges are sealed.
The next board can then be applied and fitted tightly to the previous board by positioning the tongue and groove edges together. This process is repeated for the first row of boards. When installing the next rows, maintain a staggered pattern to have no continuous vertical joints – a staggering pattern of 600mm is recommended. The wall tie position should not coincide with a vertical joint. Please see further information in section 11 on starting the staggering pattern in corners.
Continue to construct the cavity wall and install insulation following the previous steps, ensuring excess mortar is removed from the cavity face and a cavity board is used to prevent mortar dropping on the top edge of the insulation. If installation of the insulation boards is terminated below the highest level of the wall, the top edge of the insulation must be protected by a cavity tray and alternate perpend joints raked out, to provide adequate drainage of water from the tray.