
28
Mar
How to install PIR insulation boards
Installation Guide: PIR Boards
General purpose PIR ins...
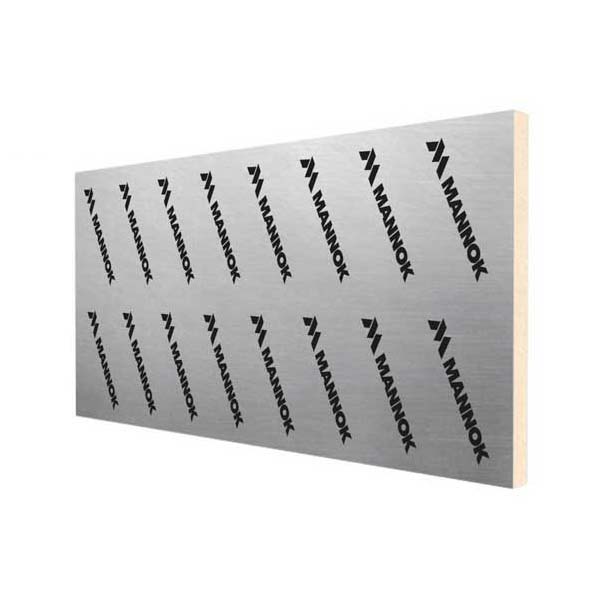
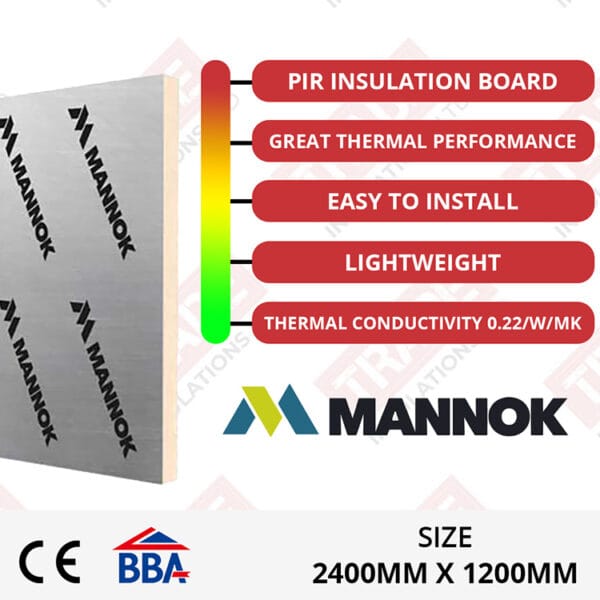
Mannok PIR Insulation boards are an insulation material designed for multi-purpose applications. They are used to improve the thermal performance within a residential or commercial building. The PIR boards are made up of a rigid fibre-free polyisocyanurate core with low emissivity foil facings bonded to each side. The board size is 1200mm by 2400mm and comes in a range of thicknesses from 25mm to 150mm. They provide thermal conductivity of 0.022W/mK. They are made CFC and HDFC free with zero Ozone Depletion Potential and Zero Global Warming Potential. The boards are lightweight and easy to cut, handle, and install.
Showing all 15 results
Key Features:
By installing insulation into your property and reducing the amount of heat escaping through the walls, floors, and ceilings you are helping to reduce global warming and climate change. By doing so you are creating a more energy-efficient environment, this will also save you up to 75% on your energy bills. Insulation can help maintain temperature control in your property and can provide a more comfortable environment.
Mannok PIR Insulation Boards can be installed in a range of methods. These methods include:
Safety/Product Specifications:
Brand: Mannok
Length: 2400mm
Width: 1200mm
Thermal Conductivity: 0.022W/mK
Thicknesses Available: 25mm, 30mm, 40mm, 50mm, 60mm, 70mm, 75mm, 80mm, 90mm, 100mm, 110mm, 120mm, 130mm, 140mm, 150mm
Core: Polyisocyanurate
Facings: Low emissivity foil
Certifications:
Storage:
Insulation boards should be stored indoors in a weatherproof space on a flat surface. If indoor storage is not an option, make sure the boards are covered with the correct waterproofing materials. If the boards get a little wet, the boards should be wiped over and left to dry before using. If the boards are too wet, they should not be used.
Cutting PIR boards:
Insulation board can be cut using a fine-toothed saw or a Stanley blade.
To cut with a saw, measure and mark the boards if necessary. Place the boards on a higher surface with room below for the saw to cut through the board.
To cut with a Stanley blade, measure and mark the boards if necessary. Use the blade to score the board on one side. Then snap the board over a hard edge and score the other side of the board with the blade.
Installation notes:
Protective gear such as gloves, face masks, protective clothing and eye goggles are recommended when cutting and handling insulation boards as the particle’s produced can irritate the skin and eyes and can be harmful if inhaled.
When applying bonding agents or adhesive ensure the instructions are followed correctly when mixing the formula.
How to install:
The Mannok PIR insulation boards can be fitted with multiple application methods.
See the below method of wall insulation.
Remove all fixtures and fitting from the walls including skirting boards, window seals, and coving. The render on the walls can then be removed until the room is bare with just brickwork showing. The brickwork should then be checked over ensuring it is dry and not damaged before the insulation process begins. Make sure the room is completely clear and tidy. Wipe down the walls with a brush to remove excess dust.
A bonding agent is optional and can be applied straight onto the brickwork using the required brush. Then a guideline can be drawn around the ceiling and floor at the width of the insulation boards plus 10mm. Bonding agents can also be applied to the back of the boards around each edge in a 15mm band and a 15mm vertical line through the middle of the board.
Apply a continuous band of adhesive around the perimeter of the walls and around all openings. Dot and dab the adhesive on each wall. Then press the insulation boards on to the walls using a level to ensure the walls are sitting straight.
Plasterboard can then be applied using the necessary fixings, they should be long enough to penetrate through the plasterboard and insulation board and fix into the wall.
Insulated plasterboard can also be used for a 2-in-1 alternative using the dab methods and applying with the dot and dab technique and fixings.
Please note this is a guide only and a building professional should always be consulted before carrying out any installations within your property. This can cause damage to your property or may result in using the wrong products or methods of application for your property. This will not meet building regulations.
Useful Articles