Building a stud wall is a fundamental skill for anyone involved in construction or DIY projects. Whether you’re creating a new room, dividing existing spaces, or adding insulation for energy efficiency, a well-constructed stud wall is essential. In this comprehensive guide, we will focus on building stud walls using timber, delve into the insulation process, and briefly touch upon metal stud walls and how to insulate them.
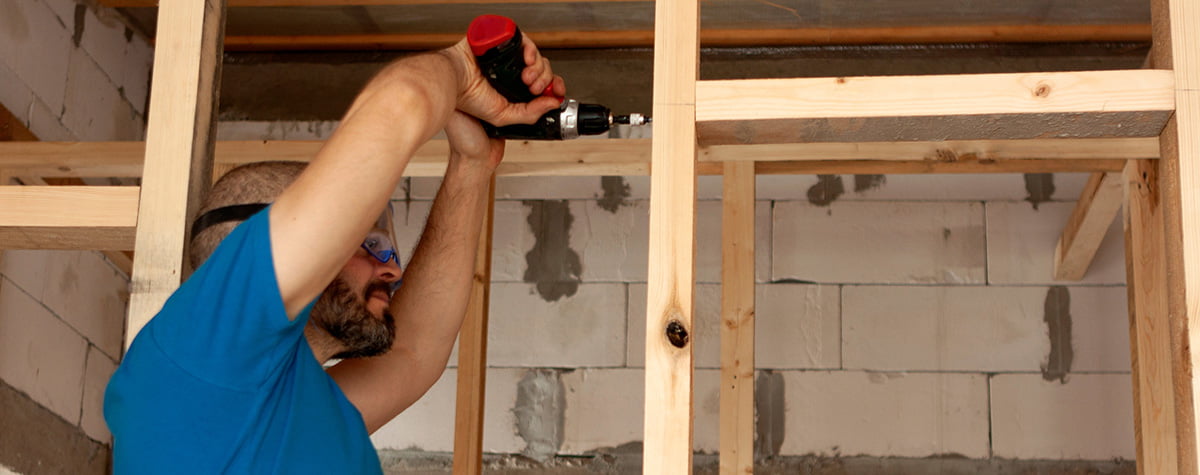
Building a timber stud wall
Constructing a timber stud wall requires careful planning, precise measurements, and the right materials. Follow these steps for a sturdy and reliable timber stud wall. To begin building a stud wall, start by gathering all the necessary materials and tools. This includes timber studs, a spirit level, a measuring tape, a saw, screws, a power drill, and a hammer. It’s important to have all these items ready to avoid any interruptions once the insulation process starts.
The next step involves using a measuring tape to accurately outline the new wall’s layout on the floor. To ensure precise right angles, use a carpenter’s square or framing square. This accuracy is vital for both the structural integrity and the aesthetic appearance of the wall.
Once the layout is marked, measure and cut the timber studs to the required lengths. Typically, these studs should be spaced 400mm to 600mm apart, although this can vary based on the wall’s purpose and local building regulations.
The installation of the bottom plate comes next. This plate forms the base of your stud wall. Lay it along the marked layout on the floor and secure it firmly with screws or nails, making sure it aligns well with your layout marks.
After the bottom plate is in place, start attaching the timber studs. Position them vertically on the bottom plate and secure them with screws or nails. Use a spirit level to ensure that each stud is perfectly upright and plumb, which is crucial for the wall’s level and structural integrity.
Once all the studs are in place, add the top plate over them. This plate needs to be fastened securely, creating a solid frame for the stud wall.
If your wall includes openings for doors or windows, you will need to install headers and trimmers between the studs. These provide additional support and framing for the openings.
Finally, if the stud wall is part of an existing room, it’s essential to anchor it securely to the surrounding structures. This means fastening it not only to the ceiling but also to any adjacent walls, ensuring the wall’s stability and rigidity.
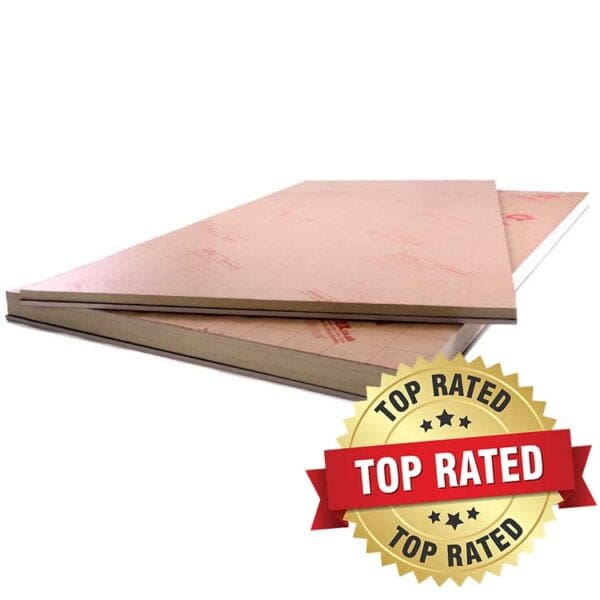
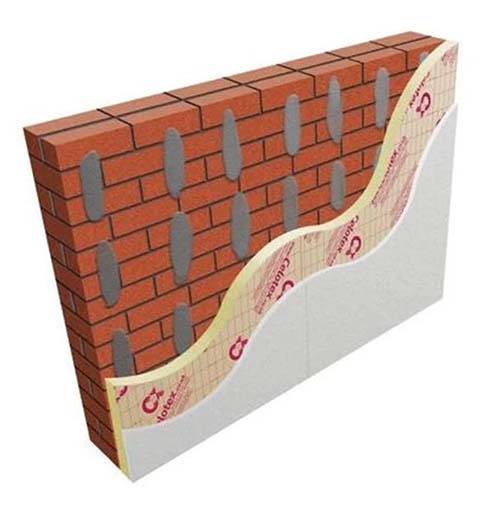
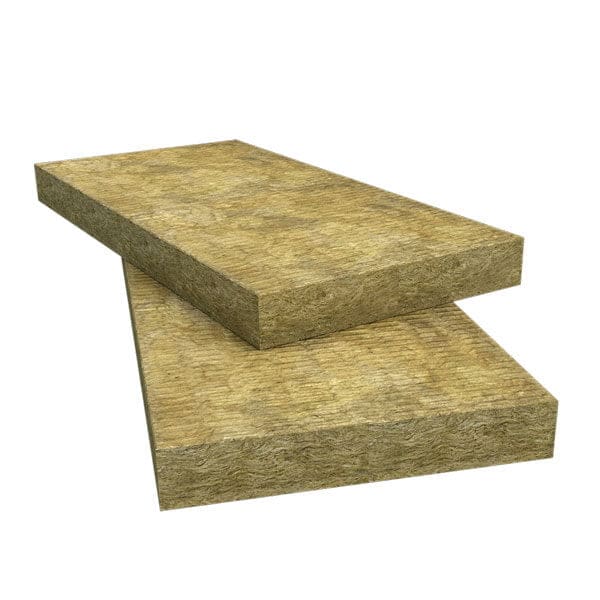
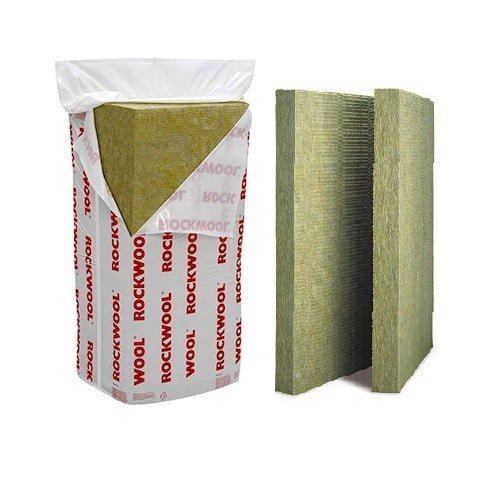
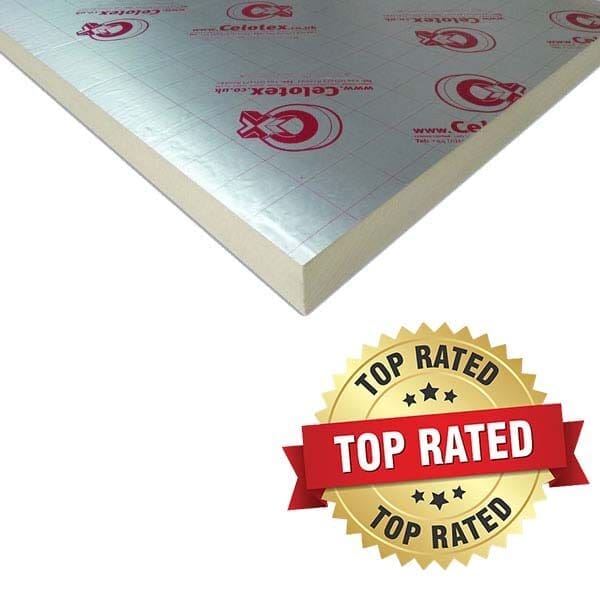
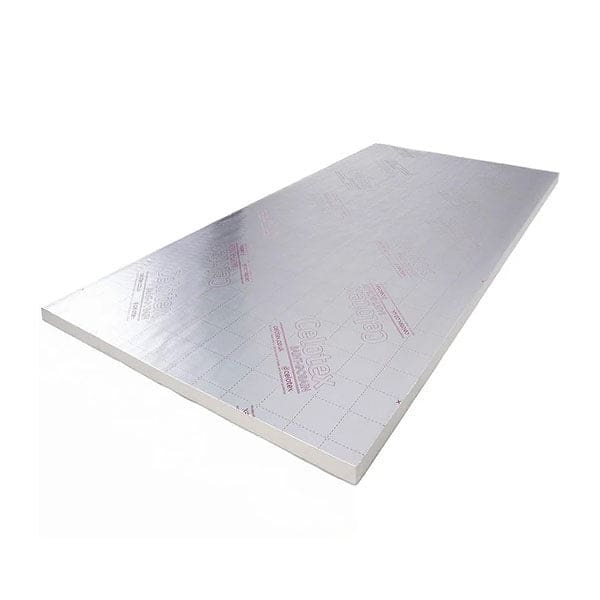
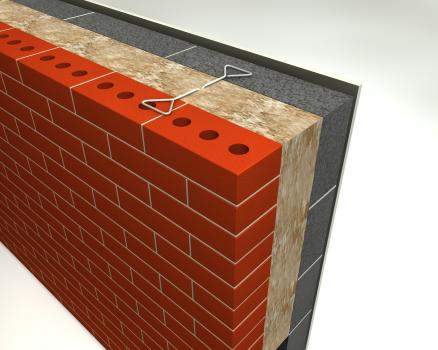
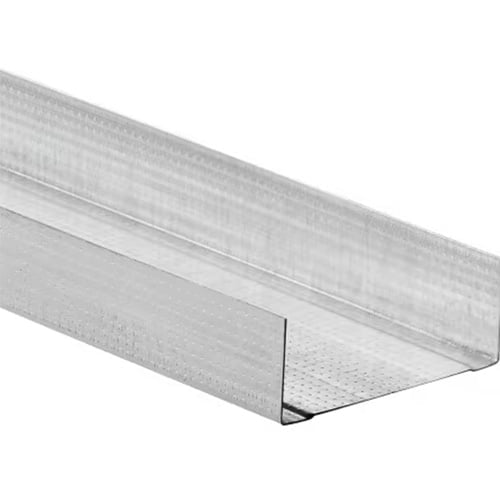
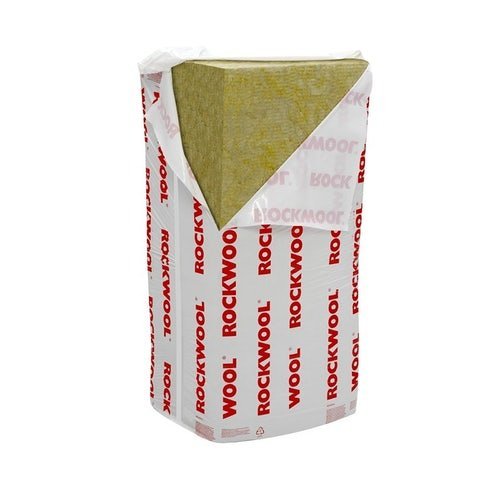
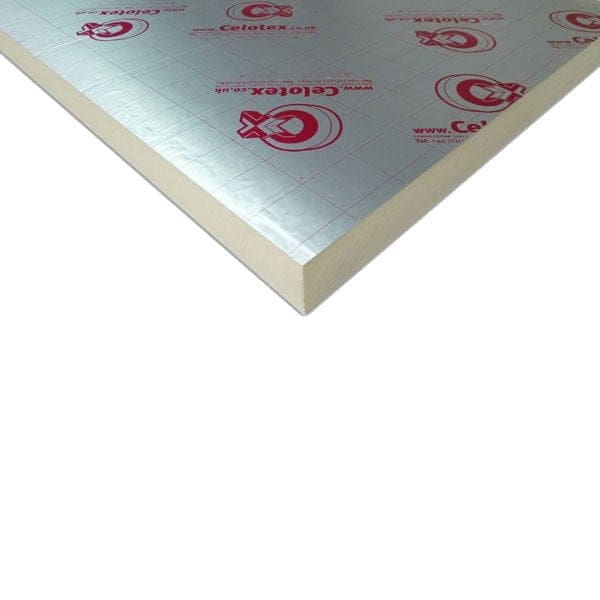
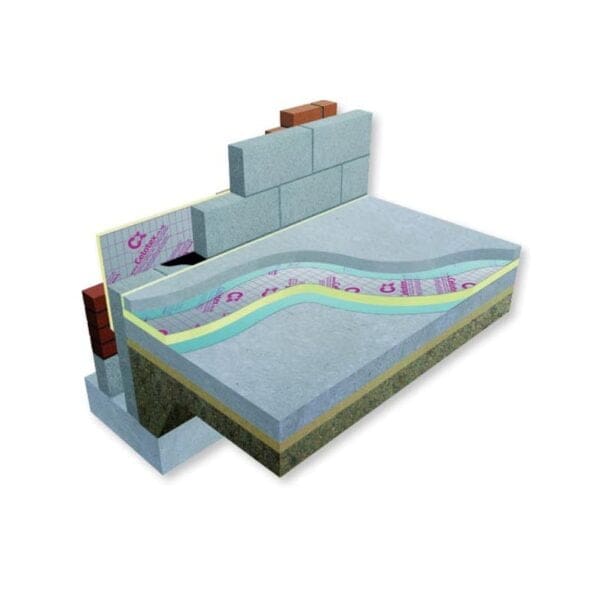
Below you can see our best selling products for insulating a stud wall.
Insulating a timber stud wall
Insulating your stud wall is essential for maintaining a comfortable and energy-efficient indoor environment.
When it comes to insulating a space, the first step is to choose the right insulation material that fits your specific needs. There are several options available, such as fibreglass batts, mineral wool, and PIR (polyisocyanurate) boards. Each material has its own unique properties and benefits. Fibreglass batts are widely used due to their cost-effectiveness and ease of installation, while mineral wool is known for its excellent fire resistance and soundproofing qualities. PIR boards offer high thermal efficiency and are ideal for spaces where thickness is a constraint.
Brands such as Celotex provide excellent general-purpose PIR insulation.
Once you have selected the appropriate insulation material, the next step involves measuring the space between the timber studs where the insulation will be installed. This step is crucial for ensuring that the insulation fits perfectly. After measuring, cut the insulation material to match the dimensions. It’s important to ensure that the insulation fits snugly between the studs to maximise its effectiveness. A tight fit helps in maintaining the desired temperature and energy efficiency of the space.
The installation of the insulation is the next phase. Carefully place the insulation between the studs, making sure that there are no gaps or voids left. It is essential to avoid compressing the insulation material, as this can significantly reduce its effectiveness. For materials like PIR boards, the installation process involves tightly fitting them between the studs and pushing them up against the plywood sheathing for a secure fit.
In certain locations and climates, the addition of a vapour barrier is a crucial step to prevent moisture build-up within the walls. The vapour barrier should be installed on the warm side of the insulation. It’s worth noting that some insulation materials come with an integrated vapour barrier. Therefore, it’s advisable to consult the product datasheets for detailed information regarding the characteristics and installation instructions of the chosen insulation material.
Finally, to ensure optimal insulation performance, it’s important to seal any gaps or joints with aluminium foil. This creates an airtight barrier that prevents heat loss and drafts, further enhancing the energy efficiency of your space. Proper sealing is vital to maintain the integrity of the insulation and to ensure that your space remains comfortable and energy-efficient.
Remember, if you are looking for timber, then check out our sister company – Trade Timber
The advantages of stud walls
Stud walls are widely used in construction due to their flexibility and versatility, offering an efficient solution for dividing and structuring interior spaces. Their primary advantage lies in adaptability, allowing for easy customisation of rooms or offices within larger structures. This flexibility, particularly valuable in residential, commercial, and industrial settings, is complemented by the cost-effectiveness of stud walls. Materials such as timber or metal studs and drywall are generally more affordable than traditional masonry options, making stud walls an attractive choice for those working within budget constraints.
Additionally, the ease of construction is a notable benefit, as the lightweight nature of materials like timber or metal studs facilitates quick construction times, leading to overall cost savings. Stud walls also provide ample space for insulation, contributing to energy efficiency and soundproofing within a structure. They offer convenient channels for running wiring and plumbing, simplifying the installation of utilities and making maintenance and renovations more manageable.
However, stud walls do come with their set of limitations. While suitable for dividing interior spaces, they may not be ideal for bearing heavy loads, necessitating additional structural support in situations with significant loads or in multi-story buildings. Sound transmission can be a concern, despite insulation efforts, as stud walls may allow more sound to pass through compared to solid walls. Durability issues, especially with timber studs, may arise from susceptibility to pests, moisture, or fire.
It’s essential to consider long-term durability when choosing materials. Additionally, stud walls are primarily designed for interior use, and employing them for exterior walls may expose them to weather-related problems, such as water damage. Understanding these pros and cons enables builders and homeowners to make informed decisions based on specific needs and project requirements.
Building Metal Stud Walls with Insulation
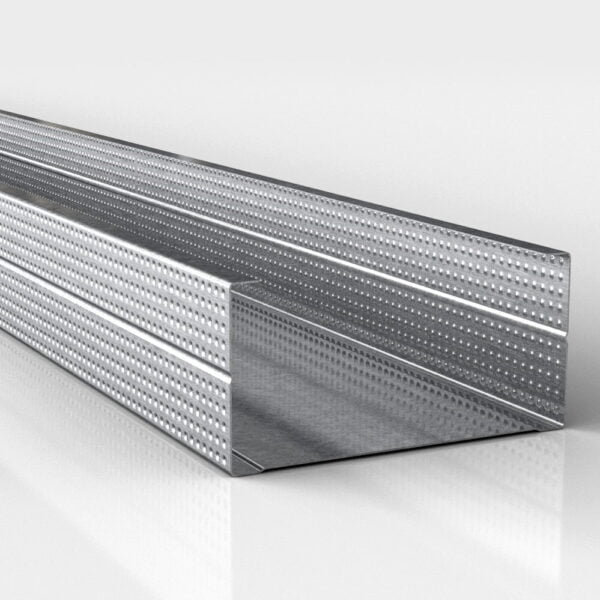
While timber stud walls are common, metal stud walls offer a viable alternative, especially in commercial construction. Let’s briefly explore the process of building and insulating metal stud walls.
Building a metal stud wall involves a process that is quite similar to constructing a timber stud wall, with the primary distinction being the use of metal in place of timber. Metal studs offer the advantages of being lightweight and durable, as well as resistant to common issues like pests and moisture damage, making them a popular choice in modern construction.
When working with metal studs, the initial step involves measuring and cutting them in accordance with your wall layout. This process is akin to the method used for timber studs, where precision in measurement and cutting ensures a perfect fit in the overall structure of the wall.
The next phase is attaching the metal studs. This involves securing the studs to both the floor and the ceiling using screws. During this process, it is essential to ensure that the studs are perfectly plumb and level, as this will affect the overall stability and appearance of the finished wall.
Unlike timber stud walls that utilise top and bottom plates, metal stud walls employ top and bottom tracks. These tracks serve as guides and provide a structure to which the studs are secured. Installing these tracks correctly is crucial for the proper alignment and support of the metal studs.
For wall sections that will include openings, such as doors or windows, the installation of headers and trimmers is necessary, much like in timber stud walls. These components provide the necessary structural support around these openings.
If the metal stud wall is part of a larger structure and adjoins existing walls or spaces, it’s important to securely anchor it. This ensures the stability and integration of the new wall with the existing structure.
Insulation in metal stud walls is a critical aspect, especially considering that metal conducts heat more efficiently than timber. Therefore, choosing the right insulation material is crucial. Options suitable for metal stud walls include rigid board insulation or batts specifically designed for use with metal framing. The installation of this insulation involves measuring and fitting it snugly between the metal studs, similar to the process used in timber stud walls.
Finally, to enhance the performance of the insulation, adding a vapour barrier and sealing any gaps or joints is recommended. This step is vital in preventing moisture build-up and ensuring that the insulation maintains its effectiveness, thus contributing to the overall energy efficiency and comfort of the space.
Comparing Timber and Metal Stud Walls
Building and insulating stud walls, whether with timber or metal, is a fundamental skill for anyone involved in construction or DIY projects. Timber stud walls are renowned for their strength and affordability, while metal stud walls offer durability and resistance to various elements. Regardless of the material chosen, proper insulation is crucial for energy efficiency and comfort within a structure. By following the steps outlined in this guide, you can confidently build and insulate stud walls to meet the specific needs of your project.
Frequently Asked Questions (FAQ) – Building a Stud Wall
What is the primary purpose of building a stud wall?
A stud wall serves as a versatile solution for dividing and structuring interior spaces. It offers flexibility in creating rooms or designated areas within larger structures.
Why choose a stud wall over other construction methods?
Stud walls are preferred for their cost-effectiveness, ease of construction, and adaptability. They provide a customizable and efficient option, especially when compared to traditional masonry walls.
Are there variations in stud wall materials, and how do I choose the right one?
Yes, two common materials are timber and metal studs. Timber is cost-effective and traditional, while metal studs offer durability and resistance to pests and moisture. The choice depends on factors like budget, project requirements, and environmental conditions.
What are the typical spacing guidelines for installing studs in a wall?
Studs are typically spaced 400mm to 600mm apart, depending on local building codes and the wall’s purpose. Correct spacing ensures structural integrity and adherence to safety standards.
Can I use a stud wall to bear heavy loads or for multi-story construction?
While stud walls are effective for interior divisions, they may not be ideal for bearing heavy loads. Additional structural support is necessary for significant loads or in multistory buildings.
How can I enhance the energy efficiency of a stud wall?
Insulating a stud wall is essential for energy efficiency. Choose appropriate insulation materials and ensure a snug fit to regulate temperature and reduce energy consumption.
What options do I have for insulating a stud wall?
Common insulation materials include fibreglass batts, mineral wool, and foam board insulation. The choice depends on factors such as climate, budget, and desired insulation performance.
Is soundproofing possible with stud walls?
While stud walls may transmit more sound compared to solid walls, effective insulation and sealing gaps and joints can significantly reduce sound transmission, making them suitable for soundproofing applications. The Rockwool RW range provides excellent thermal values whilst effectively reducing sound transmission.
Can I run wiring and plumbing through a stud wall?
Yes, stud walls provide convenient channels for running wiring and plumbing. This adaptability simplifies the installation of utilities, contributing to the overall efficiency of the structure.
What are the common challenges or limitations associated with stud walls?
Challenges include the potential for sound transmission, durability concerns, and limitations for exterior use. Understanding these aspects allows for informed decision-making during the construction process.
How do I prevent moisture-related issues in stud walls?
Moisture-related issues, especially with timber studs, can be mitigated by proper sealing, using moisture-resistant materials, and ensuring adequate ventilation within the wall structure.
Are there any considerations for building stud walls in seismic-prone areas?
In seismic-prone areas, it’s essential to follow local building codes and incorporate additional reinforcement measures, such as diagonal bracing, to enhance the stud wall’s structural resilience during earthquakes.
