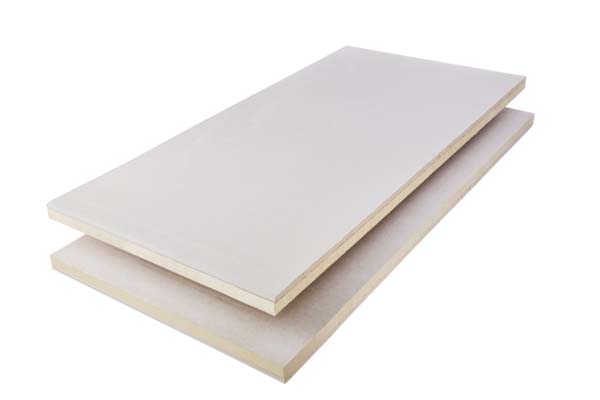
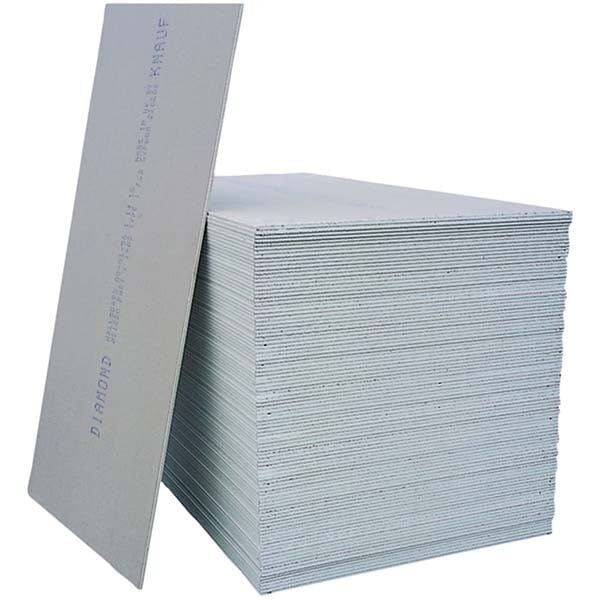
In this guide, we will be covering how to dot and dab plasterboard. We will also cover dot and dab for plasterboard but will also touch upon insulation boards as well as insulated plasterboard. Firstly, we will explain exactly what the dot and dab method is. Secondly, we will touch upon why and when you should be using it.
What is dot and dab?
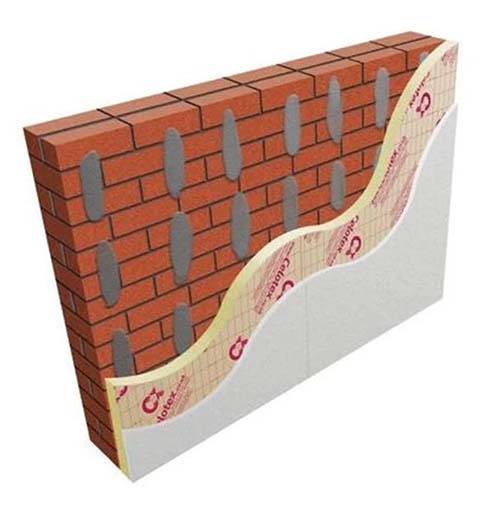
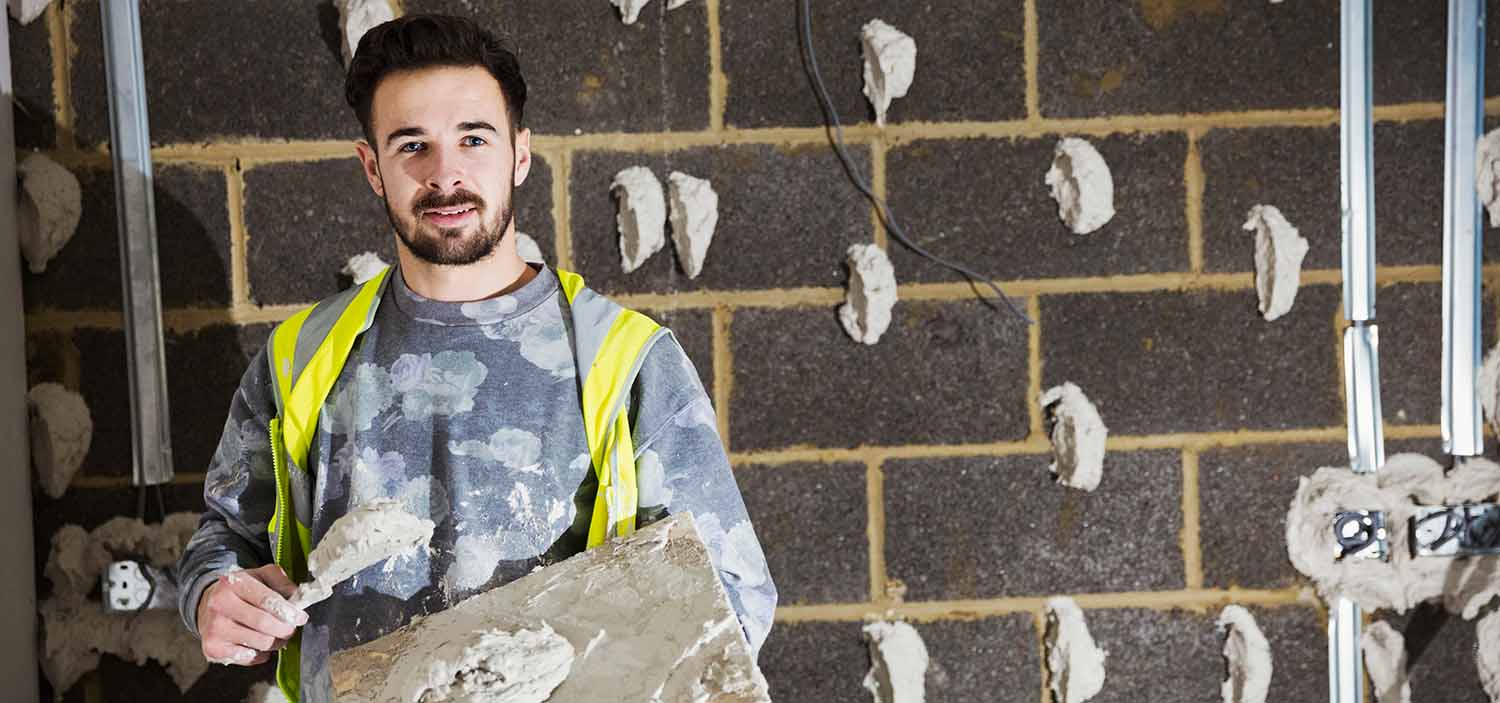
People often ask us what is dot and dab? Simply put, the dot and dab method is a technique used to install insulation or plasterboard. The name dot and dab refers to the dots and dabs of adhesive that are used on walls or surfaces during the process. The dot and dab method can be used for insulated plasterboard as well as standard insulation and plasterboard. In addition to this, dot and dab is suitable for walls. Furthermore, it may be suitable ceilings and also wooden or masonry internal partitions. The dot and dab method is mainly used for the installation of plasterboard and insulated plasterboard.
Many builders and developers refer to the dot and dab method for plasterboard as dry lining. When you hear somebody refer to a dry-lined wall this means that wall has had plasterboard applied using the dot and dab method.
Is dot and dab any good?
The dot and dab technique is a great method of installation, however, the product and purpose should be taken into consideration. The dot and dab method for plasterboard is often preferred as it is faster than wet plastering. In addition to this, it is often less messy and dries faster. Some installers also claim that you get a flatter wall when using the dot and dab technique. The dot and dab method is ideal for wall surfaces and is a cheaper install method.
The biggest downside to the dot and dab method is poor workmanship. This is often due to people being on “price” work rather than a day rate. Price work is when work is agreed at a flat rate therefore it is in the best interests of the installer to install quickly. Rushing the dot and dab method could lead to a bad finish and therefore defects. That being said, wet plastering arguably requires a higher skill level and can be faced with the same issues.
It is clear that the dot and dab technique is a winner in many scenarios. To summarise, the dot and dab method is quick, easy and less messy than alternative methods. Dot and dab is widely used because it can be used on both wooden and masonry internal partitions as well as ceilings and walls.
When not to use dot and dab?
A situation in which you would not want to use the dot and dab method would be when you want to soundproof a room. The reason you should not use the dot and dab method for soundproofing is that the method creates a small cavity. The gap created allows the soundwaves to be resonated and amplified. A comparable to this is how a guitar works. When you pluck the strings of a guitar, the sound travels into the cavity and is amplified when it bounces back and reaches our ears.
You can tell if a wall has been dot and dabbed by tapping on the plasterboard or insulation and listening back to the sound. If some parts of the wall sound hollow then it is evident that a cavity has been created. This is more than likely due to the dot and dab method.
How to dot and dab plasterboard?
There are many ways to fix plasterboard. One way is to simply screw the plasterboard directly into the studs or battens. Another way is to nail it into the studs. In addition to this, some people glue plasterboard if it is thermal plasterboard. The last method is, of course, the dot and dab method. Each method can provide good results, however, the dot and dab method does not require a stud wall to be fixed. It uses a direct bond to stick the plasterboard to the wall. This means there is no need for building a stud frame, which can save both time and money. Below we will outline how to dot and dab plasterboard.
Before you begin to dot and dab – you will need:
- 1 x Large spirit level
- 1 x Pencil
- 1 x Tape measure
- 2 x Builders buckets
- 1 x Trowel
- 1 x Bucket trowel
- 1 x Kitchen sponge
- 1 x Hawk
- 1 x Stanley knife
- 1 x Saw for plasterboard
- Plasterboard
- Adhesive
Prepare your walls
Before you use the dot and dab method, you must ensure that your walls are prepared. Masonry walls are good at absorbing moisture. This means if your wall is not prepped, the wall could take the moisture out of the adhesive needed and therefore render it ineffective. To prevent moisture from being absorbed, it is best to paint on a coat of PVA that is mixed with water. Always check the manufacturer’s recommended amount to mix.
Once the PVA and water blend have been applied, you simply need to wait for the wall to dry. When the wall is dry, it will no longer absorb as much moisture meaning that you can start the dot and dab technique. If you are waiting for the wall to dry, you can begin measuring and cutting your plasterboard as outlined below.
Measure and cut your plasterboard
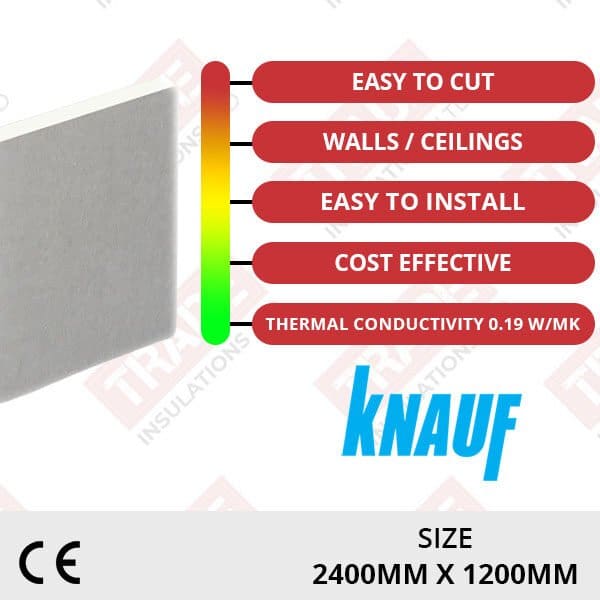
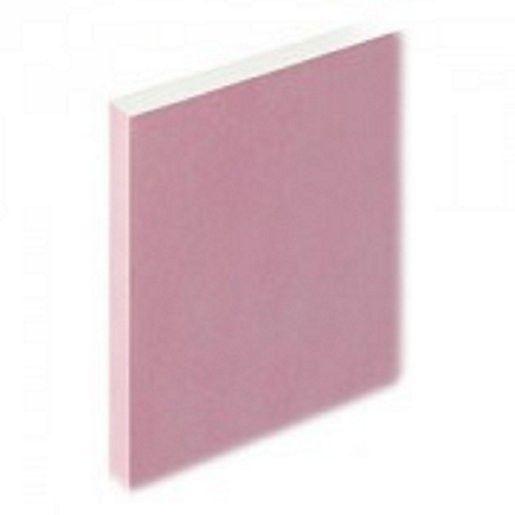
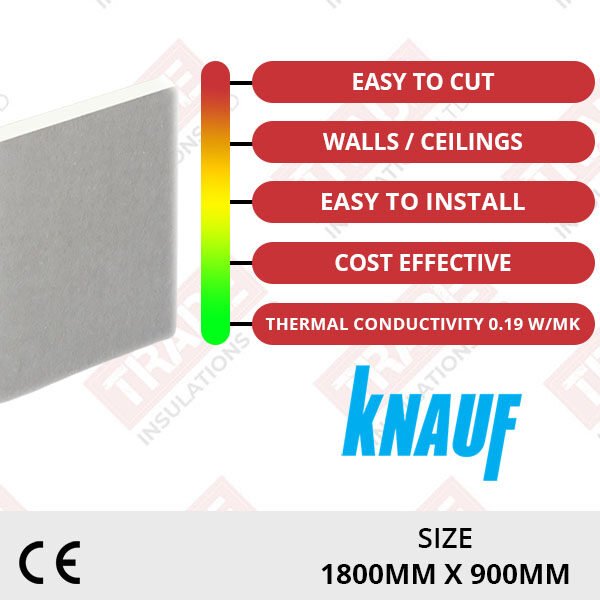
Measuring and cutting your plasterboard can be done whilst you are waiting for your walls to dry. To do this, work from one corner and then measure out where each plasterboard will go when upright. Typically plasterboard is sold in 2400mm by 1200mm sheets so you are likely to only need to make minimal cuts if you are applying plasterboard to a straight wall. Plasterboard can also be bought in other size variations on our website. You can easily filter between the different plasterboard sizes and thicknesses you need.
If the space is trickier and you have to make a cut for a window or door then do the following. Firstly, measure how far the edges are from the last board and then mark the plasterboard with a pencil. Place the plasterboard you want to cut on the floor. Once on the floor, use a spirit level to achieve a straight edge and use a Stanley knife to make the cuts.
When you have cut your plasterboard to size, you are then ready to mix the adhesive.

Mix the dot and dab adhesive
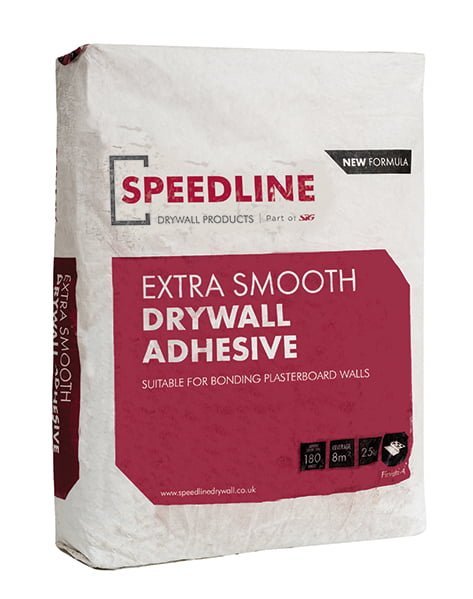
The next step would be to mix your adhesive. You can find the adhesive on our website. We recommend either Speedline drywall adhesive or adhesive by British Gypsum. Speedlines drywall adhesive has been purposely designed for plasterboard so it is a good choice.
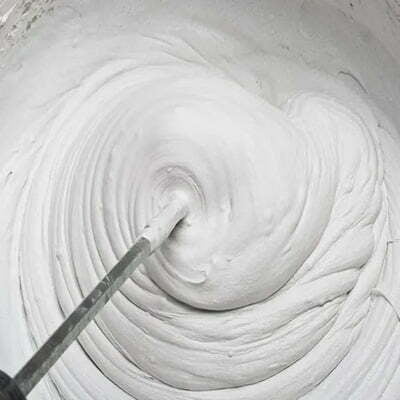
Directions to mix the adhesive should be found on the packaging. This should tell you exactly the measurements that you need to mix as products can differ. The main thing you want to achieve is getting the consistency right. It needs to be thick and creamy so that it can stand on a hawk. If you find that the mix is too runny then simply add more adhesive. If it is too thick then add more water until it is perfect. The next step is to then apply the adhesive to the walls using the dot and dab method.
Dotting and dabbing the adhesive
The dotting and dabbing process is where you apply the adhesive to the wall itself. Before applying any adhesive, double-check that the PVA on the wall has dried. The amount of adhesive used depends on how heavy the plasterboard itself is. If the plasterboard is light then you will need less adhesive. However, if it is heavier you will need to apply more adhesive in order to support the weight of the plasterboard. If you find that the wall is uneven then you could apply more adhesive in the low spots to create a straight finish. In addition to this, putting less adhesive on high spots can also help the plasterboard be more level when applied.
A good rule is to apply adhesive in dabs every 8 to 12 inches. This is the same as every 20cm to 30cm. Make sure that every dab is big enough to support the board. Some people believe that applying a full line of adhesive around the board may prevent fire from spreading through the cavity. There is currently no requirement to do this as fire-rated plasterboard will offer up to 30 minutes of fire protection. An advantage of lining the edges of boards with adhesive is that it can help prevent insects from getting in and therefore nesting.
Adhesive placed around the plasterboard itself will support edges where they are more likely to get damaged. You should take care around the bottom of the wall where the skirting is to be fixed. Make sure there is a line of adhesive just above the skirting level.
Applying plasterboard to a wall
It is best practice to get a few previous offcuts of the plasterboard and then place them on the floor. This means you can place your board on top to leave a small gap from the floor.
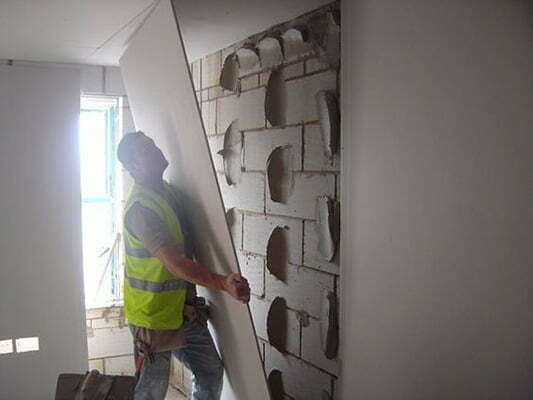
Once the adhesive has been applied, you need to press your plasterboard down on the adhesive dabs. The pressure of the board will spread the adhesive underneath to join the board. Make sure that you press down firmly when applying the plasterboard. Use a large/long spirit level to check how level the plasterboard is. Place the level vertically on one side to check the level from top to bottom. Repeat this process on the other side. Use a featheredge to simply tap the plasterboard so that you can get it into a level position. Keep testing with the level until the plasterboard is level and square.
When dotting and dabbing, the first plasterboard is the most important. If the very first plasterboard is out then it means all the others will be. When you have your first plasterboard perfectly in place, you can repeat the process with the other boards until complete. If all the plasterboards are in place, they will need to be left for 24 hours to allow the adhesive to dry and the plasterboard to bond.
Decorating your plasterboard
After allowing 24 hours for the adhesive to dry, the plasterboard should be ready to skim. The plasterboard could also be directly painted or directed, however skimming provides a better finish. Skimming also adds another layer of soundproofing, however, we don’t recommend dot and dab when trying to achieve a soundproofed wall. This is because the dot and dab method can create a small cavity, which could actually amplify sound.
If you prefer to learn from a video, then below is a video by Siniat. Siniat is a leading manufacturer of plasterboard. The video demonstrates how you can dot and dab plasterboard.
Dot and Dab FAQs
Below are some frequently asked questions about the dot and dab application method.
Can you dot and dab plasterboard or insulation to a ceiling?
While it is possible to dot and dab plasterboard or insulation to a ceiling, it is not the best choice. This is because there is a risk that the adhesive may not be strong enough to securely hold the plasterboard/insulation in place. For this reason, we would recommend that you use alternative methods for fixing plasterboard or insulation to a ceiling. When it comes to ceilings, the product should be applied with screws or nails to securely hold it in place.
Can you dot and dab insulated plasterboard?
Yes, some insulated plasterboard may be suitable for dotting and dabbing. Some insulated plasterboard products can be cut and dot and dabbed as normal. When purchasing adhesive, ensure you double-check that it is suitable for insulated plasterboard as the extra layer of insulation will mean that insulated plasterboards tend to be heavier. If the insulated plasterboard is foil-backed then it is likely not suitable for dotting and dabbing. Double check with the manufacturer if you have doubts.
Can you dot and dab foil-backed plasterboard?
If the plasterboard is foil-backed then it will be unsuitable for dotting and dabbing. When using foil-backed products, it is best to mechanically fix the boards to studs or battens so that they remain securely in place. Below is a video from Kingspan, which demonstrates how you can mechanically fix insulated plasterboard.
Can you dot and dab over wallpaper?
No, you should not dot and dab over wallpaper. This is because moisture can remove wallpaper from a wall. The adhesive used for the dot and dab method will make the wallpaper wet. This could cause the wallpaper to become unstable and therefore rip. This can be unsafe if the attached plasterboard or insulation board comes off the wall and hits somebody. If you want to apply plasterboard or insulation over wallpaper, then you should remove the wallpaper first. If wallpaper is hard to remove, use a steamer to soften up the paper and therefore make it easier to remove. When you have removed the wallpaper, you want to ensure the wall is fully dry. You can then apply a PVA and water mix to stop the wall from absorbing moisture. Once the wall is completely dry, it is now ready for a dot and dab application.
How much dot and dab adhesive do I need?
As a general rule, 12.5kg of adhesive can cover 2.88m2. This is the same as 1 board with measurements of 2400mm x 1200mm. Most bags of adhesive are 25kg, which means they will cover 2 boards. When purchasing adhesive you need to work out the total area coverage. Each 25kg bag will cover 5.76m2 so if you need enough for 20m2, you would divide 20m2 by 5.76m2 to give you the total number of bags. In the example given, that would require 3.4 bags. It would be best to purchase 4 bags so that you have more than enough.
Can you dot and dab Celotex?
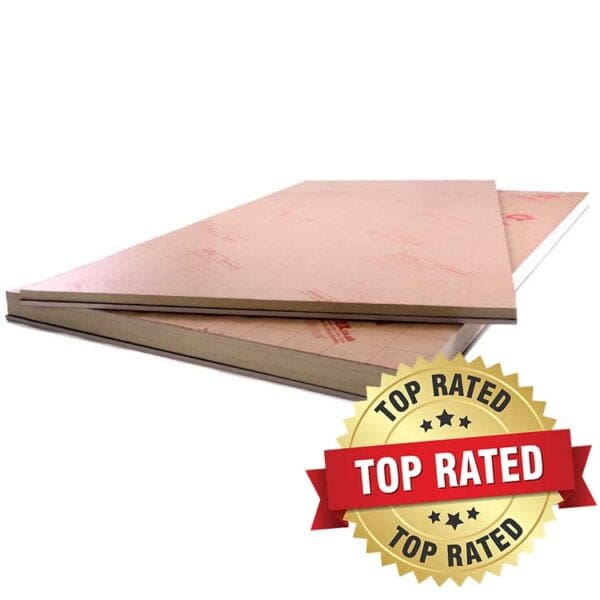
There are many types of Celotex products that are suited for dot and dab. The PL4000 range is insulated plasterboard from Celotex, which is suitable for the dot and dab method. Celotex PIR insulation boards can also be dotted and dabbed onto walls, however, this may not be the best method. Celotex PIR boards can be tricky for dot and dab and manufacturer guidance should be followed with every board. A lot of people fix Celotex PIR boards using frames and screws to hold it in place.
This article is for guidance purposes only. If you are still unsure about how to dot and dab, please seek help from a professional who can help you.
